How to Create a Local Area Network (LAN)?

Steps to Create a Local Area Network (LAN)
Before you can create a local area network (LAN) you need to understand what a LAN is. A LAN is a network that is confined to a small area, usually within a single building or small group of buildings.
Step 1 – Determine Your Local Network Requirements
Before you begin, you will need to consider the type of local network you need – the size of your network, the types of data you will sharing, the number of users you will have, and what type of environment you will be operating in.
Step 2 – Get the Right Equipment
Once you have determined your requirements, you will need to get the right equipment for your network. This includes network cables, network switches, routers, and/or wireless access points.
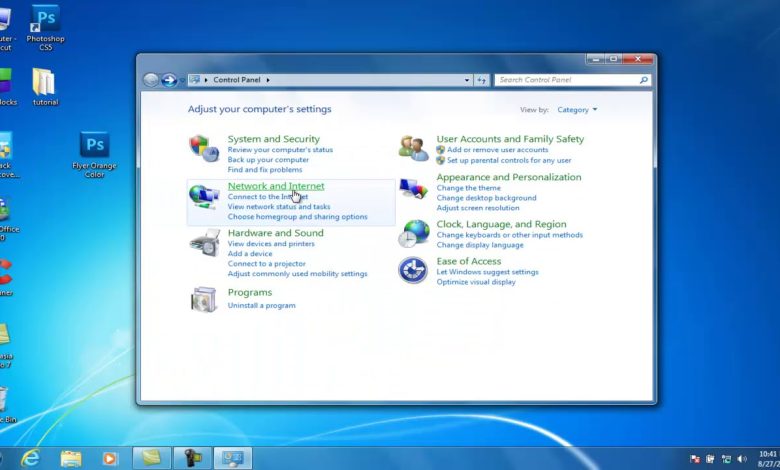
Step 3 – Configure Your Network Settings
Once you have all the necessary equipment, you will need to configure your network settings. This includes assigning IP addresses, setting up a Domain Name System (DNS), configuring security settings, and creating user accounts.
Step 4 – Connect Your Devices
Finally, you will need to connect your devices to the local network. This can be done either via an ethernet connection or through a wireless connection.
Step 5 – Check Your Network
Once you have your local network set up, it’s time to check it. You can do this by running a diagnostic check on the network from each connected device. This will help you identify any potential issues and make sure that your network is functioning properly.
Conclusion
Creating a local area network is a relatively straightforward process, but it’s important to get all the steps right. If you follow these steps, you should have no problem setting up a stable and secure LAN.
Tips For Creating Your Network:
- Make sure you have the right equipment and that it’s compatible with your devices.
- Configure your network settings correctly to ensure a secure connection.
- Check your network after it’s set up to make sure it’s running properly.


