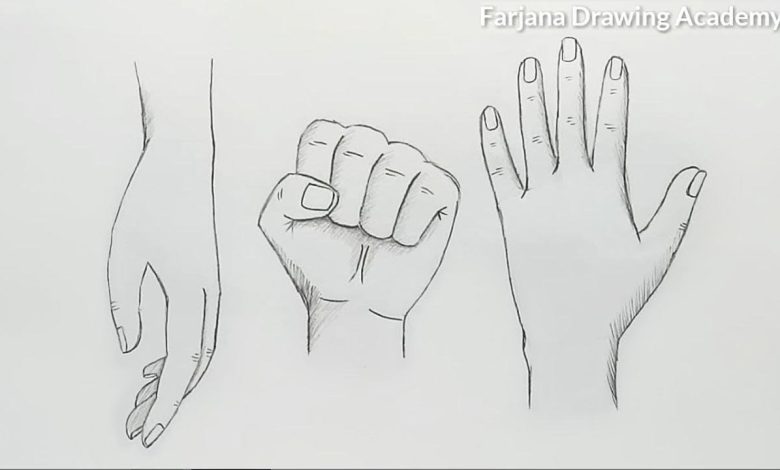
How to draw a hand?

How to Draw a Hand
Drawing the human hand takes practice and patience, but it can be a rewarding skill to learn. Follow these steps to draw a realistic hand:
Step 1: Know the Anatomy
In order to properly draw a hand, you need to understand the basic anatomy and shape of the hand. The hand is made up of several bones, muscles and ligaments, so it’s important to remember these components when drawing.
Step 2: Make a Light Sketch
Once you are familiar with the anatomy, start by making a light sketch of the hand. Begin with a few basic shapes, such as a rectangular palm and four individual fingers. At this point, don’t worry about accuracy or details, just focus on creating a general structure.
Step 3: Add Details
Once you have the basic shape of the hand, you can start to add details. Pay attention to the:
- Fingers: Use curved lines to draw in the creases of the fingers and add in the fingernails.
- Palm: Draw in the palm wrinkles and creases.
- Back of Hand: Draw in the knuckles, veins, tendons and wrinkles.
Step 4: Add Shading
Once you are satisfied with your sketch, you can start to add shading and other details. Use a variety of pencil pressure to create light and dark areas. Remember to pay attention to the way the light falls on the hand and add in any other details you think would make your drawing realistic.
Step 5: Erase Unnecessary Lines
Lastly, erase any unnecessary lines and correct any mistakes. Take a step back and observe your drawing as a whole to make sure that it looks natural and realistic.
Drawing a hand may take some time, but with practice and patience, you will be able to create realistic drawings.


