Blog
How to screenshot on Mac?

How to Take a Screenshot on Mac?
Taking a screenshot on Mac is easy,and there are various methods which you can use to get your desired screenshot. Here are some of the ways you can follow to take a screenshot on Mac:
Using Keyboard Shortcuts
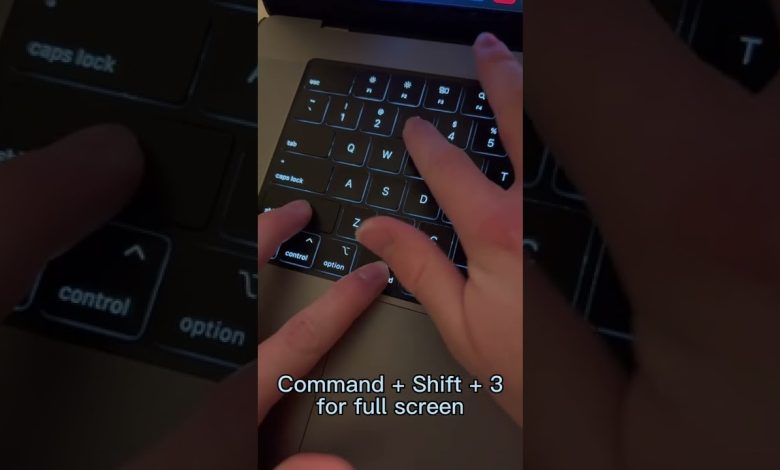
The simplest way to take a screenshot on Mac is by making use of keyboard shortcuts. Here are the shortcuts you can use:
- Command +Shift +3: This combination will take a screenshot of your entire screen and save it on your desktop.
- Command +Shift +4: This command will allow you to select an area of the screen that you want to capture and save it on your desktop.
- Command +Control +Shift +3: This command will instantly copy the screenshot on your clipboard and you can paste it at the desired location.
- Command +Control +Shift +4: This command will allow you to select an area of the screen that you want to capture and copy it to your clipboard.
Using the Menu Bar
You can also take a screenshot on your Mac using the Menu Bar. Here’s how you can do it:
- Go to the Menu Bar and click on it.
- Select the “Capture Screen” option and you will see various options like “Capture Entire Screen, Capture Selected Window, and Capture Selected Portion”.
- Choose the desired option according to your need and capture the screen.
Taking a screenshot on your Mac is easy and hassle-free, with the various methods that you can make use of. Just follow the steps mentioned above and you will be able to easily capture the desired screenshot in no time.


